This feature is available in JCE Pro
The Thumbnail Editor is used to create a thumbnail (a reduced-size version of an image) from a single image, using an interactive interface for setting the dimensions (width and height) and area (portion of the image) of the thumbnail.
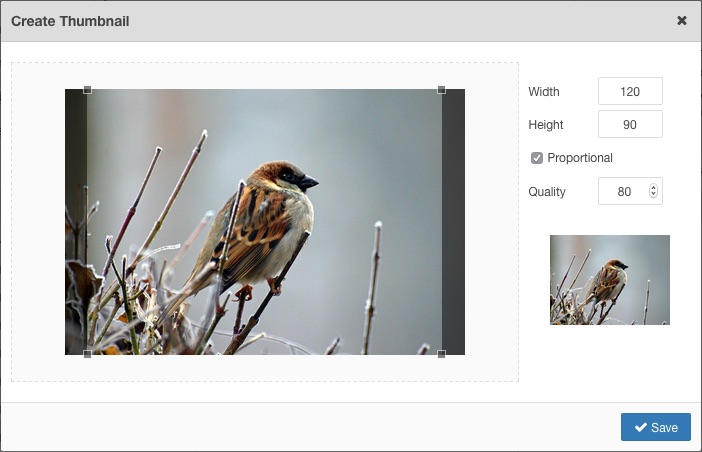
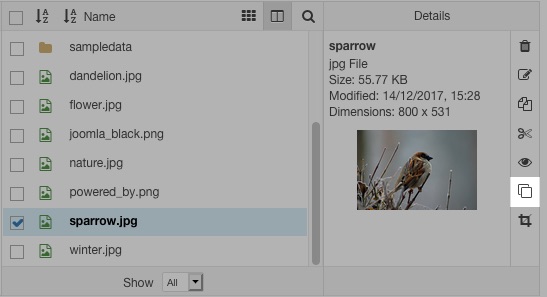
To open the Thumbnail Editor, select an image, then click on the Create Thumbnail button.
Properties
The Width and Height of the thumbnail can be set in the Properties section of the dialog. Changing the existing values will be reflected in the image in the Preview section (to a maximum of 200px x 150px, the limit of the Preview area)
By default the width and height values are constrained, ie: changing one value will calculate and set the proportional value of the other. Click on the chain icon to toggle the constrain option.
The Quality value can be set by dragging the slider, or entering a new value in factors of 10, eg: 20, 30, 40 etc. This sets the level of JPEG compression used when saving the thumbnail.
Thumbnail Area
The thumbnail area is shown in the box on the left of the dialog. This shows the area of the original image that will be used in the thumbnail and by default includes the whole image if the proportions of the original image match those of the default width and height, otherwise it will show sized to the ratio of the width and height.
You can resize the box by dragging any one of the corners. The Preview image will update with the new selection. The resized box can also be moved by dragging it around.

Saving the thumbnail
Once you are happy with your thumbnail dimensions and selection, click the Save button. The thumbnail image will be created in the thumbnails folder (as set in the Editor Profile Filesystem parameters, or "thumbnails" by default)